I have approximately 8 new small wooden shelving units suitable for ink, glitter, embossing powders, punches etc. for sale surplus to requirements.
They have 6 shelves and measure 22 1/2" high x 3 5/8" deep x 12" wide. The shelves are pretty tightly fitted into grooves but I think they can be removed.
They are £19.99 each and can be collected from Wilmslow, Cheshire or I can courier one for £6 or two for £10 to mainland UK.
The ones being sold are new and unused.
If you are interested I accept paypal payment
Chris :-)
1 July 2011
17 June 2011
Online SLR camera simulator
One of the regular blogs I follow posted a really cool link to a camera simulator where you can practice using an SLR camera, adjust lighting, ISO, aperture, shutter speed, and distance settings to see what happens to your photos. Try it here and let me know what you think!
5 March 2011
SU Regional Training Event - Leeds 5 March 2011
My own swap was a punched lily which uses the oval punch, inks, and cardstock and is quite simple if not time consuming to make 50 swaps!
The recipe is:
Yellow Lily: Daffodil Delight and Wild Wasabi cardstock, certainly celery ink Stargazer Lily: Whisper White and Rose Red cardstock, Rose Red ink
Tiger Lily: Tangerine Tango cardstock, Melon Mambo ink
Score your cardstock approx every half inch, then using oval punch, punch just less than a half oval across the folded edge to form an elongated petal. You will need 7 petals per lily.
Using a sponge run ink along the crease down the centre of each petal and at one of the pointed ends of each petal. To get the speckles I used diferent techniques, some use the side of a pokey tool pressed against my chocolate chip inkpad to apply the speckles, on others I used a black journaling marker.
Next run a bone folder along each petal to get some shape to the petal and then glue the petals by overlapping them. I'll post some more pictures tomorrow of the different stages which might make this a bit clearer. For the stamen I used a 3" strip of So Saffron cardstock folded in half, with the open edges inked in soft suede and then think strips cut not quite to the fold line. I used a small section of the strip and rolled the folded end between my fingers to get a nice round end and with a blob of Tombow in the centre I set the stamen in and left to dry.
25 February 2011
I had to post this
.... link to a blog I just read. This is just for you Jane cos I know you will love it - clink the link
;-)
;-)
Stampin' Up Colour Combo Generator
The Stampin Up range has such fantastic new colours and unfortunately I don't yet have all the inks and cardstock in all the colours. I'm hoping to build up my stash gradually but after recently placing my second order and qualifying for a fantastic 30% discount I couldn't resist adding a few ink pads. I think the Brights is my current favourite collection so I'm working towards getting all the inks in that range although part of me wonders why I didnt just buy the ink spots (ie the full set of the smaller pads). Anyway that got me thinking about colour combinations and what are my faves. I think at the moment I really like the Rose Red with Basic Grey and Very Vanilla, maybe with a bit of crumb cake cardstock thrown in for good measure!
Whilst googling this subject, I stumbled upon this amazing tool on Samantha Strachan's blog which randomly generates colour combos. How cool is this!? I don't think I'm a natural colour combiner so I take all the help I can get.
What are your favourite SU colour combos??
Whilst googling this subject, I stumbled upon this amazing tool on Samantha Strachan's blog which randomly generates colour combos. How cool is this!? I don't think I'm a natural colour combiner so I take all the help I can get.
What are your favourite SU colour combos??
16 February 2011
Just loving that Crumb Cake
Today I'm posting another card, this time a birthday card using my new Stampin' Up! Perfect Punches Stamp.
Shame I've not got the Large Oval punch yet so you can probably tell I've cut it by hand. Not a good look! Never mind its Sale-a-Bration time so its the perfect opportunity to add that to the order I'm going to place before the end of February. I've prepared an order and so far I've qualified for three free stamp sets from the catalogue plus £15 to spend on anything I want and a Level 1 free Hostess Stamp Set.

And don't look too closely at the flower shape - that's another punch I need. It's been out of stock for a little while but I noticed its back in stock and orderable today. It's one of my personal faves, I've got the stamp but not the punch so its another must have!
Today's recipe
Stamp sets: Tiny Tag, Perfect Punch, Flower for You
Ink: Chocolate Chip, Real Red
Cardstock: Real Red, Early Espresso, Crumb Cake
Punches: Scallop Trim Border, Oval Extra Large, Fancy Flower Extra Large (if only I had them)
Other: Linen thread, snail adhesive, stampin dimensionals
All product orderable from the newest demonstrator on the block! Just email me. x
Chris
Today's recipe
Stamp sets: Tiny Tag, Perfect Punch, Flower for You
Ink: Chocolate Chip, Real Red
Cardstock: Real Red, Early Espresso, Crumb Cake
Punches: Scallop Trim Border, Oval Extra Large, Fancy Flower Extra Large (if only I had them)
Other: Linen thread, snail adhesive, stampin dimensionals
All product orderable from the newest demonstrator on the block! Just email me. x
Chris
15 February 2011
Valentines Card using I {Heart} Hearts
Wanted to show you the valentine card that I created for my husband using my new Stampin Up starter kit. The recipe:
Stamps: I {Heart} Hearts, Tiny Tags
Inks: Real Red, Cherry Cobbler, Basic Black
Punches: Jewellry Tag Medium, Heart Small
Cardstock: Whisper White, Real Red
Other: Basic Pearls, Clear Stampin' Emboss Powder
I hope you like it!
I've been challenged by my crafty mate Jane to start posting more so hopefully this is the first of many posts to come. Night night x
3 February 2011
NEWS!
I have some exciting news to share ... I've just become a Stampin' Up! Demonstrator! I've finally bitten the bullet and signed up. I'm so excited because I love their products- all so beautifully co-ordinated, trendy images andits really easy to create something beautiful, quickly and easily. I'm really hoping my starter kit will arrive tomorrow so I can get cracking straight away.
Please contact me if you would like to hold a workshop/party. I'm based in Cheshire and can travel widely around the North West.
The current promotion is Sale-a-bration which can be seen here.
Please contact me if you would like to hold a workshop/party. I'm based in Cheshire and can travel widely around the North West.
The current promotion is Sale-a-bration which can be seen here.
11 November 2010
Getting ready for Christmas
I had an idea the other day ... how nice it would be to give my female relatives a handmade Christmas gift .... after all I've invested most of my hard-earned into my craft stash so why not use it to make something lovely and totally unique for my mum, stepmum and the hubsters mum! So I decided that I would make each of them a selection of handmade cards and present them in a box, organised with dividers as a very personal gift.
I started by searching for a suitable presentation box that could be embellished and that was large enough to take some large 6" square cards as well as the usual A6 size and that I could also put dividers inside (and that didn't cost a fortune). I found a few cardboard cubes that I thought might work if I cut the lid off and made a proper box lid in the Card Factory that were cheap enough. However today I stumbled across these in a new shop in the Arndale Centre called Hub which is a new one on me
There were two styles available Born to Shop and Forever Friends and I needed three so I bought two Forever Friends and on Born to Shop. Born to Shop defines my mother in law so that's for her. They are both by DoCrafts and were £9.99. Just perfect!
All that remains is for me to find the time to fill them with creations. I'll post each of the cards that goes into them over the run up to Christmas.
Chris x
All that remains is for me to find the time to fill them with creations. I'll post each of the cards that goes into them over the run up to Christmas.
Chris x
7 November 2010
Win the entire range of Promarkers

Well this has to be one of the best giveaways yet ... visit Enfys blog Going Buggy for a chance to win this marvellous set of Promarkers
x
5 November 2010
18 October 2010
Swap shop
14 October 2010
Stampin Up Swaps
Anyway here's the recipe for my simple card topper
Whisper White cardstock, Basic Black cardstock, Dot Dot Dot stamp, Whisper White ink, Basic Black ink, Linen Thread, Snail Adhesive, Stampin' Dimensionals, black pen oh and, of course, their fabulous new Ornament Extra-Large punch!
Incidentally if anyone wants to view the catalogue or order Stampin' Up stuff you can visit Jane's site by clicking here.
x
26 September 2010
Blog Candy from Scrapology
Scrapology are offering some fantastic blog candy. To be in with a chance to win it visit them here. Good luck x ;0)
22 September 2010
Promarker Blog Candy from A Passion For Cards
There's another super set of Promarkers being offered by A Passion for Cards. Visit them here for your chance to win.

Bon chance!

Bon chance!
Lothian Crafts Promarker & Tilda Blog Candy
Visit Lothian Crafts Blog for great Promarker and Tilda Blog Candy.
Click here to go there.
Good luck!
Click here to go there.
Good luck!
26 May 2010
Norman's Italian Roadtrip
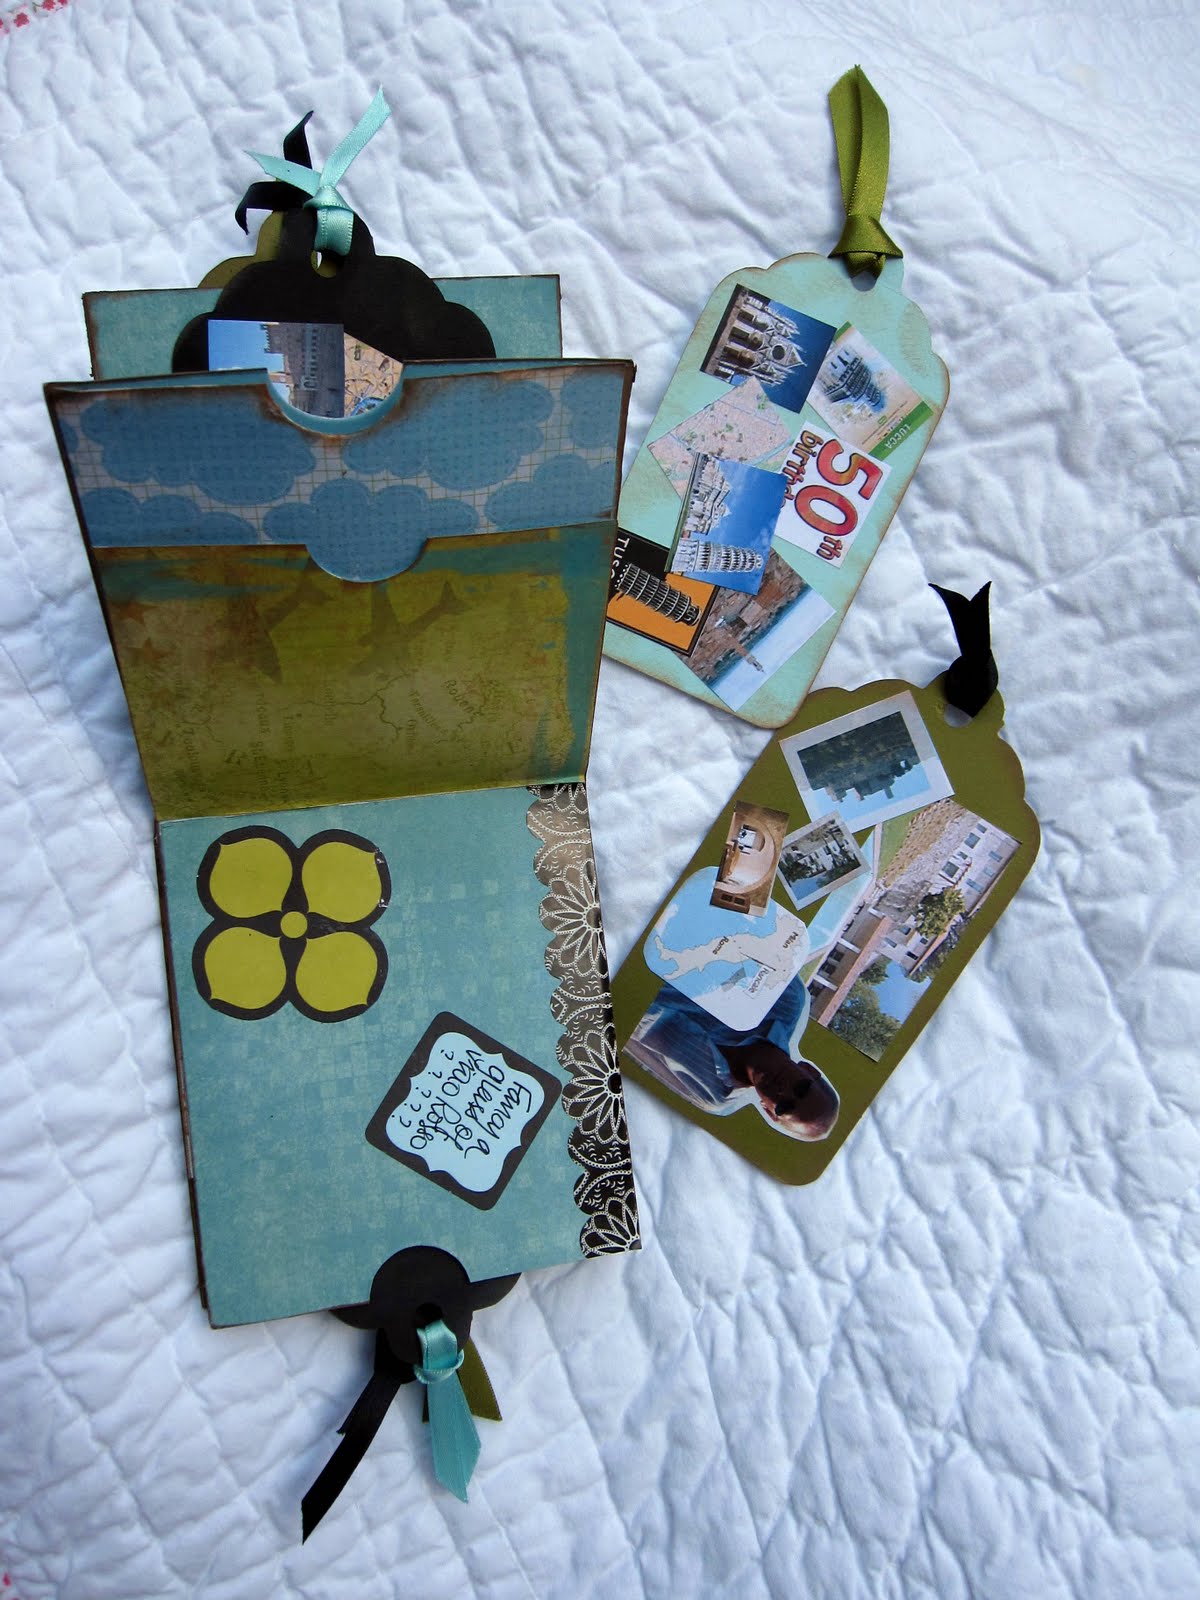
Here's the product of a lovely evening spent with my bezzie Dawn, who has arranged a surprise trip for her fella for a BIG birthday ...


This little book is made from 6 pale blue DL envelopes, each with both of the short edges trimmed off and then creased 9cm from one edge. Each envelope then glued to another and the pages decorated with papers and tags (cut from the George cartridge on the Cricut machine), ribbons, photos etc.
Incidentally, does anyone know where I can get a Cricut machine fixed in the UK? my screen's bust so although the machine still works the screen does not. As you can imagine that means lots of trial and error to get the size you want ... and hence lots of paper being scrapped!
This little book is made from 6 pale blue DL envelopes, each with both of the short edges trimmed off and then creased 9cm from one edge. Each envelope then glued to another and the pages decorated with papers and tags (cut from the George cartridge on the Cricut machine), ribbons, photos etc.
Incidentally, does anyone know where I can get a Cricut machine fixed in the UK? my screen's bust so although the machine still works the screen does not. As you can imagine that means lots of trial and error to get the size you want ... and hence lots of paper being scrapped!
21 April 2010
Promarker Blog Candy
Check out Jak Heath's blog for some fabby dabby Promarker blog candy!
http://www.jakheath.com/2010/04/promarker-blog-candy.htm
30 March 2010
Long time no see ....
well hello again ! worst blogger in the world here. I bought a great book from Amazon last week and Gary took me to Lakeland and treated me to a great piping set and so I could make these little beauties.
21 August 2009
Subscribe to:
Posts (Atom)